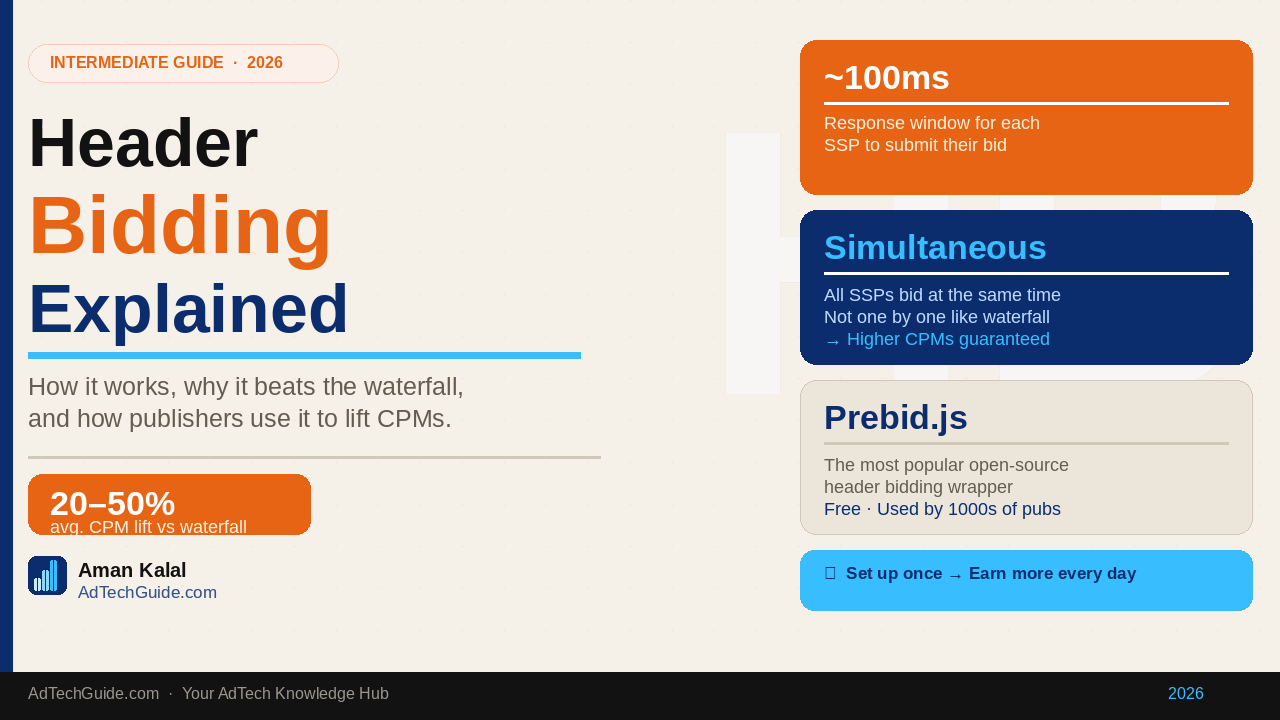
If you’ve spent any time in publisher monetisation, you’ve heard the term “header bidding.” It’s one of the most talked-about strategies in programmatic advertising — and for good reason.
Publishers who implement header bidding correctly consistently report CPM increases of 20–50% compared to the old waterfall model. That’s not a small difference. For a mid-size publisher doing a few million page views a month, that can mean thousands of dollars in additional monthly revenue.
But what exactly is header bidding? How does it work? And is it right for your site?
This guide covers everything you need to know.
What Is Header Bidding?
Header bidding is a programmatic advertising technique that allows publishers to offer their ad inventory to multiple demand sources simultaneously — before the ad server makes its final decision on which ad to show.
Instead of going through demand sources one by one (as in the old waterfall model), header bidding creates a real auction where all buyers compete at the same time. The highest bid wins and is passed to the ad server to serve the ad.
The name comes from where the auction code originally lived — in the <head> section of a webpage’s HTML. Today it can also run server-side, but the name has stuck.
The Problem Header Bidding Solved: The Waterfall Model
To understand why header bidding was such a big deal, you need to understand what came before it — the waterfall model (also called daisy-chaining).
How the Waterfall Model Worked
In the waterfall model, a publisher’s ad server would go through demand sources in a pre-set priority order:
- First, it would check if a direct-sold campaign had inventory to fill the slot
- If not, it would go to the first ad network (e.g. Google Ad Exchange)
- If that network couldn’t fill at the minimum price, it would pass to the next network
- And so on, down the “waterfall” until the slot was filled
The problem? Each network only got to bid after the previous one had passed. This meant:
- A DSP lower in the waterfall might have been willing to pay a much higher CPM — but never got the chance
- Publishers had to manually rank their demand sources and constantly adjust priorities
- Google’s Ad Exchange sat at the top of most waterfalls, giving it a massive structural advantage
- Revenue was consistently lower than it should have been
Header bidding fixed all of this by making it a true simultaneous auction.
How Header Bidding Works: Step by Step
Here’s exactly what happens when a user loads a page with header bidding enabled:
Step 1: User loads the page
When a visitor lands on your website, before the page even fully loads, the header bidding code fires in the browser.
Step 2: Bid requests go out simultaneously
The header bidding wrapper (typically Prebid.js) sends bid requests to all connected SSPs and DSPs at the same time — simultaneously, not one by one.
Step 3: Buyers respond with bids
Each demand partner evaluates the impression — the user’s data, the page context, the ad placement — and responds with their bid price. They typically have 100–300 milliseconds to respond.
Step 4: Bids are collected
The header bidding wrapper collects all the bids that came back within the timeout window.
Step 5: Winning bid passed to the ad server
The highest bid from the header bidding auction is passed to the ad server (Google Ad Manager) as a line item, competing against direct-sold campaigns and any other demand.
Step 6: Ad server makes the final call
GAM compares the header bidding bid against its own demand (including Google Ad Exchange). Whichever has the highest value wins the impression.
Step 7: Winning ad is served
The winning creative is delivered to the user’s browser and displayed in the ad slot.
Header Bidding vs Waterfall: A Direct Comparison
| Waterfall | Header Bidding | |
|---|---|---|
| How buyers bid | One at a time, in sequence | All simultaneously |
| Competition | Limited — first buyer wins if price met | True open competition |
| CPM outcome | Often undervalued | Maximised through competition |
| Latency | Lower | Slightly higher (manageable) |
| Setup complexity | Simple | Moderate |
| Revenue impact | Baseline | Typically 20–50% higher |
| Transparency | Low | High |
| Google advantage | Yes — structural | Reduced significantly |
What Is Prebid.js?
Prebid.js is the most widely used open-source header bidding wrapper in the world. It’s free, maintained by the community, and supported by virtually every major SSP and DSP.
A header bidding “wrapper” is simply the container that manages the header bidding process — sending bid requests, collecting responses, managing timeouts, and passing the winning bid to the ad server.
Prebid.js lets publishers:
- Connect to dozens of SSP “adapters” with minimal code
- Set timeout values for how long to wait for bids
- Configure price granularity (how precisely bids are passed to GAM)
- Manage bid caching and user sync
- Use both client-side and server-side header bidding
Other wrapper options include Amazon’s Transparent Ad Marketplace (TAM) and Index Exchange’s IX Library, but Prebid.js remains the dominant choice for most independent publishers.
Client-Side vs Server-Side Header Bidding
There are two main ways to run header bidding:
Client-Side Header Bidding
The auction runs in the user’s browser. The Prebid.js code loads on the page, sends bid requests directly from the browser to each SSP, collects responses, and passes the winner to GAM.
Pros:
- Easier to set up
- Full transparency into the bidding process
- No additional infrastructure needed
Cons:
- Adds page load latency (each bid request fires from the browser)
- Limited by browser resources and connection speed
- Exposes bidding logic to competitors
Server-Side Header Bidding
The auction runs on a server, not in the browser. The browser sends a single request to a server (like Prebid Server or Amazon TAM), which then conducts the auction on the backend and returns the winning bid.
Pros:
- Faster page load (one server call instead of many browser calls)
- Can connect to more demand partners without latency penalty
- Better for mobile and lower-powered devices
Cons:
- More complex setup
- Cookie matching is harder (user IDs don’t transfer as easily server-side)
- Slightly less transparent
Most sophisticated publishers use a hybrid approach — running some demand client-side and some server-side.
How to Set Up Header Bidding: The High-Level Process
1. Choose your wrapper
For most publishers, Prebid.js is the right choice. It’s free, flexible, and has the widest SSP support.
Alternatively, consider a managed header bidding solution from companies like Setupad, Snigel, or MonetizeMore — they handle the technical setup for you in exchange for a revenue share.
2. Select your SSP partners
You’ll need to decide which SSPs to connect as bidders. Common choices include:
- AppNexus (Xandr)
- Magnite (formerly Rubicon)
- Index Exchange
- PubMatic
- OpenX
- Sovrn
- Amazon TAM (run separately alongside Prebid)
More SSPs generally means more competition and higher CPMs — but too many can increase latency. Start with 5–8 and optimise from there.
3. Configure Prebid.js
You’ll define your ad units, set bid parameters for each SSP adapter, configure your timeout (typically 1,000–2,000ms), and set price granularity settings.
4. Set up GAM price granularity
In Google Ad Manager, you’ll need to create a set of line items that correspond to the header bidding bid prices. This is called price granularity — essentially a ladder of CPM values that GAM can recognise and compare against its own demand.
This is one of the more tedious parts of header bidding setup, but tools like the Prebid.js Line Item Manager can automate it.
5. Test and QA
Before going live, thoroughly test your setup:
- Check that bids are coming back from each SSP
- Verify that GAM line items are being hit correctly
- Monitor for latency increases and adjust timeouts if needed
- Check for any ad rendering issues
6. Monitor and optimise
Header bidding isn’t a set-and-forget solution. You’ll want to regularly:
- Review bid rates and win rates by SSP
- Adjust floor prices
- Test adding or removing demand partners
- Monitor timeout rates (bids that don’t return in time)
Key Header Bidding Metrics to Track
Once you’re live with header bidding, these are the metrics that matter:
Bid Rate: The percentage of auctions where an SSP submits a bid. Low bid rate from an SSP may mean poor inventory match or a setup issue.
Win Rate: The percentage of auctions where a particular SSP wins. Helps you understand which partners are most competitive for your inventory.
Average CPM: The average winning price per 1,000 impressions. Compare before and after header bidding to measure impact.
Timeout Rate: The percentage of bids that didn’t return within your timeout window. High timeout rates mean latency issues that are costing you revenue.
Fill Rate: The percentage of ad requests that result in a paid impression. Header bidding should improve this.
Revenue per 1,000 Sessions (RPM): The clearest top-line measure of whether header bidding is working.
Common Header Bidding Mistakes Publishers Make
Setting timeouts too low. If you set your timeout to 300ms, many SSPs won’t have time to respond — you’re cutting off demand before it can bid. Start at 1,000–1,500ms and adjust based on timeout rate data.
Connecting too many SSPs at once. More demand is good in theory, but 20 SSPs all firing client-side will crater your page speed. Be strategic — focus on quality over quantity.
Ignoring price granularity. If your GAM line items aren’t granular enough, you’re rounding bids down and losing revenue. Use “dense” or “auto” granularity for most publishers.
Not running Amazon TAM separately. Amazon’s header bidding solution runs separately from Prebid.js and adds a significant demand source, especially for consumer content sites. Many publishers forget to add it.
Setting and forgetting. Header bidding requires ongoing management. SSP performance shifts, floor prices need adjusting, and new demand partners come online. Review your setup at least monthly.
Is Header Bidding Right for Your Site?
Header bidding makes the most sense if:
✓ You’re getting at least 500,000 monthly page views (below this, the setup effort may outweigh the gains) ✓ You’re already using Google Ad Manager as your ad server ✓ You have some technical capability (or can hire/partner with someone who does) ✓ You rely on programmatic advertising as a meaningful revenue source ✓ You’re currently on a waterfall setup and suspect you’re leaving money on the table
It may not be worth it yet if:
- You’re still on AdSense only (get to GAM first)
- Your traffic is very low (under 200K monthly page views)
- You don’t have bandwidth for ongoing management
Header Bidding in 2026: What’s Changed
Header bidding has matured significantly since it first emerged. A few things worth knowing in 2026:
Server-side is growing. As privacy regulations make client-side user tracking harder, server-side header bidding (with better identity solutions) is becoming more attractive.
Identity resolution matters more. With third-party cookies gone in most browsers, SSPs that have strong first-party data and identity solutions (like UID 2.0 integration) will perform better in your auctions.
Google’s PAIR and Privacy Sandbox. Google’s own cookieless targeting solutions are now live, and understanding how they interact with your header bidding setup is increasingly important.
AI-powered floor pricing. Several SSPs and managed header bidding solutions now offer machine learning-based floor price optimisation — automatically adjusting floors in real time to maximise revenue.
Final Thoughts
Header bidding fundamentally changed the economics of publisher monetisation. By creating true simultaneous competition for every impression, it shifted power back toward publishers and away from Google’s structural waterfall advantage.
If you’re a publisher of any meaningful scale and you’re not running header bidding, you are almost certainly leaving significant revenue on the table every single day.
The setup has a learning curve — but the payoff is worth it.
Related articles: